Six lip shapes. More than one way to wear them.
An application map built around the effect you want, with no ideal shape to chase.
 Technique / The Fragrant lips journal
A diagram is a starting point
Lip-shape diagrams are most helpful when they describe visible features and show optional techniques. They become less helpful when they turn those features into a hierarchy. Real lips combine characteristics, and your expression changes what is visible. Use the six descriptions here as a vocabulary for application, rather than a test you must pass to identify the one category you belong to.
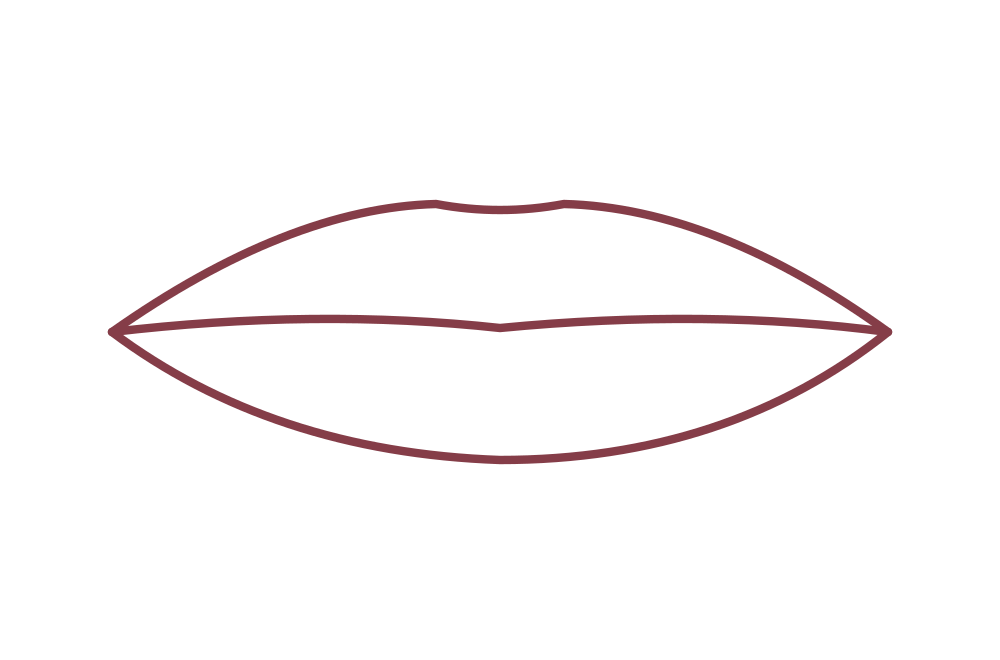
Before picking up a liner, decide whether your goal is definition, a soft edge, emphasis at the center or a deliberate graphic outline. You can make those choices on any lip shape. The illustrations on Fragrant lips are original schematic drawings; they are not before-and-after photographs, predictions of a product's performance or evidence that a particular face needs correction.
A pronounced Cupid's bow
If you enjoy emphasizing the two peaks of the upper lip, mark them lightly before connecting the rest of the outline. Small strokes make it easier to keep checking the result without committing to a thick line. Apply the lipstick inside that outline, then consider the whole face in the mirror. A close-up can make a tiny detail seem more important than it appears at ordinary viewing distance.
For a softer look, let the edge remain less exact and concentrate on an even layer of color. You do not need to redraw the bow into a different shape. The contrast between a defined upper contour and a diffused application can be an intentional style choice. Both approaches work as design options; the best choice is the one that produces the effect you prefer.
A rounded upper contour
A gently rounded upper lip can be followed as it is for an uncomplicated outline. Start at the center and work outward in short sections, checking the corners before adding more product. If you want a graphic bow for a particular look, treat it as a drawn feature and keep the change small enough that you can assess it comfortably.
A rounded contour also suits a deliberately soft application because the border does not have to carry the entire look. Apply color through the center and blend within the natural edge using your chosen clean applicator. Watch the overall amount of product rather than pursuing a perfectly symmetrical stamped shape. A technique should make application more controllable, not turn your routine into an endless correction.
A fuller upper or fuller lower lip
When one lip looks fuller than the other, you can choose to echo that proportion or change the visual emphasis. Following both natural contours gives a clear record of your own shape. If you want the less prominent lip to receive more attention, try making its color application slightly more defined before changing the outline. Compare the result at a normal distance.
Reverse that approach if you want to emphasize the fuller lip: a carefully finished edge can make the natural proportion part of the style. Do not assume balance requires identical upper and lower volumes. Product coverage, shine and placement interact in a complete look, so change one of them at a time. These are visual experiments, not guarantees that any particular technique will create a measured change in size.
A slender profile or a full profile
For lips with a slender visible profile, a small applicator or a freshly sharpened liner can make precise placement easier to manage. If a full-coverage bullet feels difficult, apply a little at a time rather than trying to finish in one stroke. You can choose any depth of color; dark shades are not prohibited simply because the visible lip area is small.
For a full profile, a larger visible surface gives you room to experiment with a uniform layer, a softened perimeter or color concentrated toward the center. That room does not create a duty to use a dramatic shade. When comparing products, pay attention to how the applicator handles your corners and outline. Ease of control is a practical criterion for both slender and full lips.
Natural asymmetry and the final check
Lips rarely look exactly mirrored in every expression. If you notice asymmetry, first check your application with your face relaxed and your mirror straight ahead. You may decide to follow both sides as they are or make a small adjustment for a particular look. Avoid repeatedly adding liner while inspecting only one side, since the process can create a heavier outline than you intended.
Finish by looking at the entire face and moving your lips normally. Ask whether the color, edge and amount of shine express what you wanted. The useful review is about control and preference: where application felt easy, where the tool needed more care and how the look changed with movement. Shape alone cannot establish whether a lipstick is comfortable, durable or suitable for your skin.
Sources & further reading
This article combines documented features with editorial analysis. It does not report completed hands-on wear tests.
- Clinique: example of sheer, buildable coverage — source reference retained in the editorial archive
- Maybelline: manufacturer application instructions — source reference retained in the editorial archive