01 / NATURAL FORM
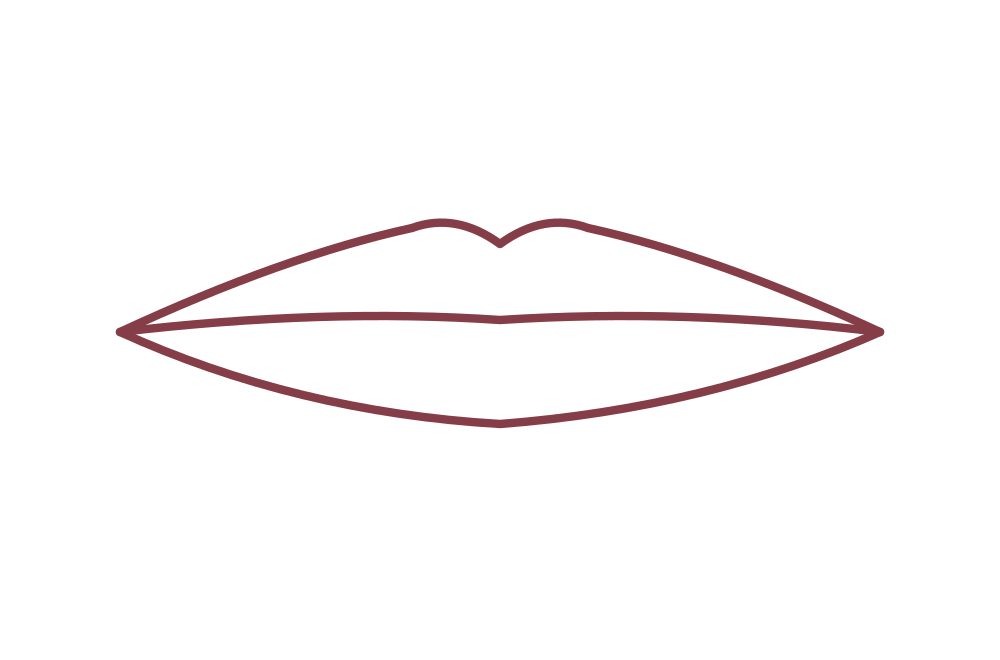
Slender lips
A naturally narrow upper and lower lip.
For a softly fuller effect
Diffuse the color at the edge or add a little shine at the center. Keep any liner extension subtle and near the central lip.
These line drawings are a starting point for exploring technique. Real lips can combine several features, change with expression, and be naturally asymmetrical. Every version belongs.
Original line illustrations / technique, not product evaluation
A naturally narrow upper and lower lip.
Diffuse the color at the edge or add a little shine at the center. Keep any liner extension subtle and near the central lip.
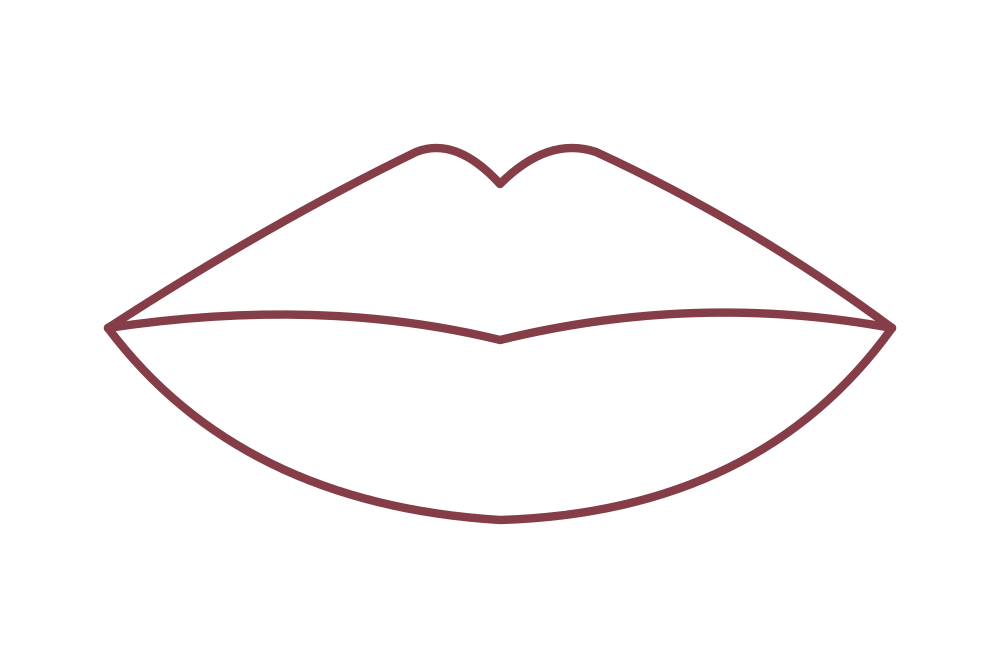
More visible height through both lips.
Try a light stain or blot the border with a fingertip or clean brush. A full lip does not need to be made smaller.
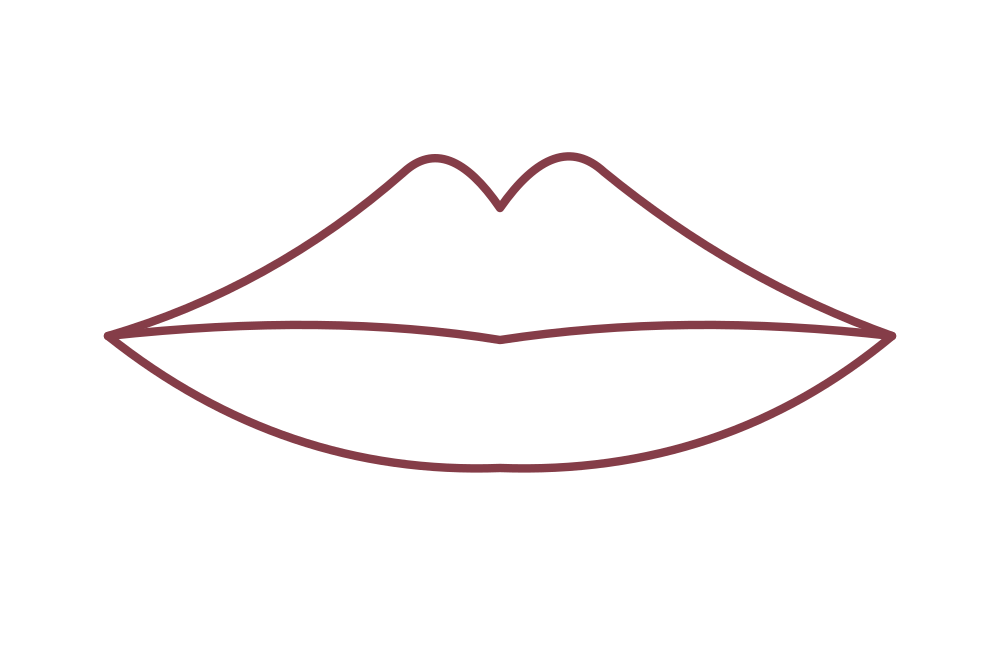
Two distinct peaks along the upper lip.
Follow the two natural peaks with short strokes, then join the center. A soft edge is equally valid if you prefer it.
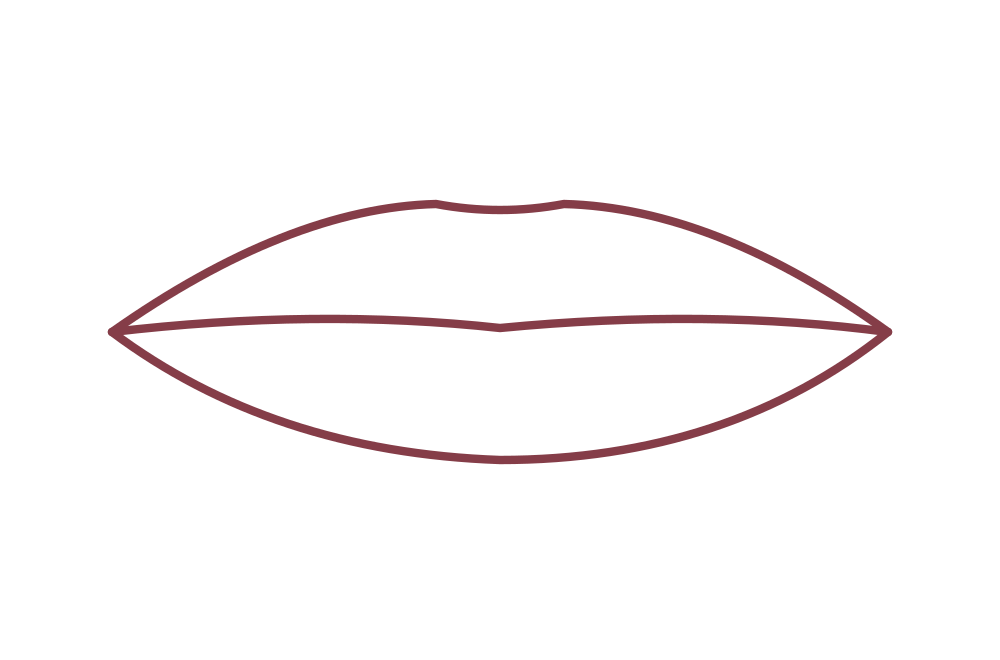
A rounded, gently curved upper edge.
Trace the existing upper edge with a close-tone liner. There is no need to invent a sharper bow.
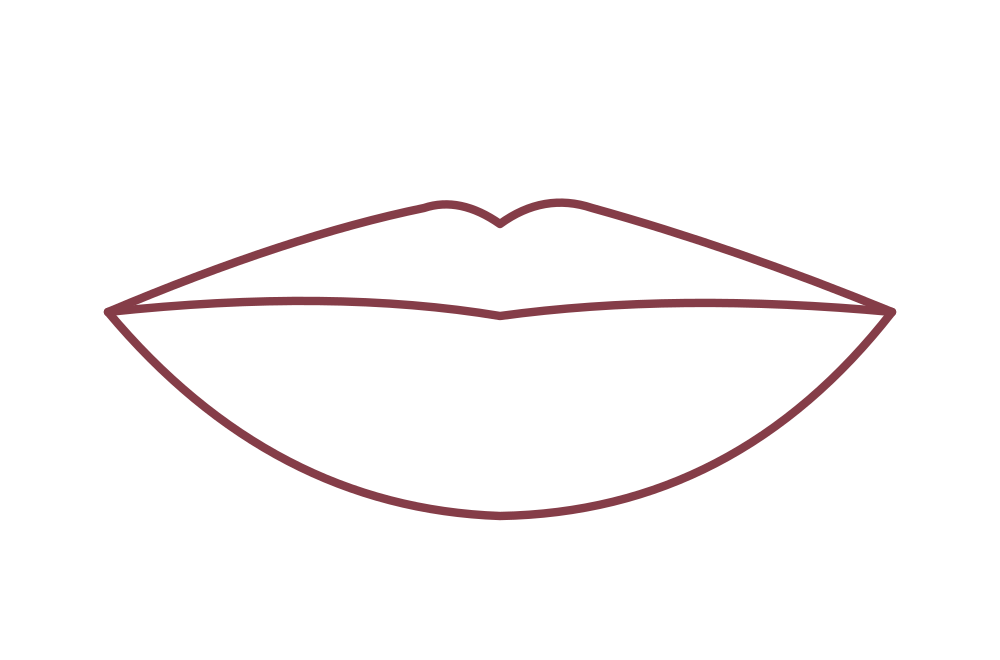
The lower lip has more visible height.
Give the upper lip a little more definition, keeping the lower edge soft. You can also emphasize the fuller lower lip.
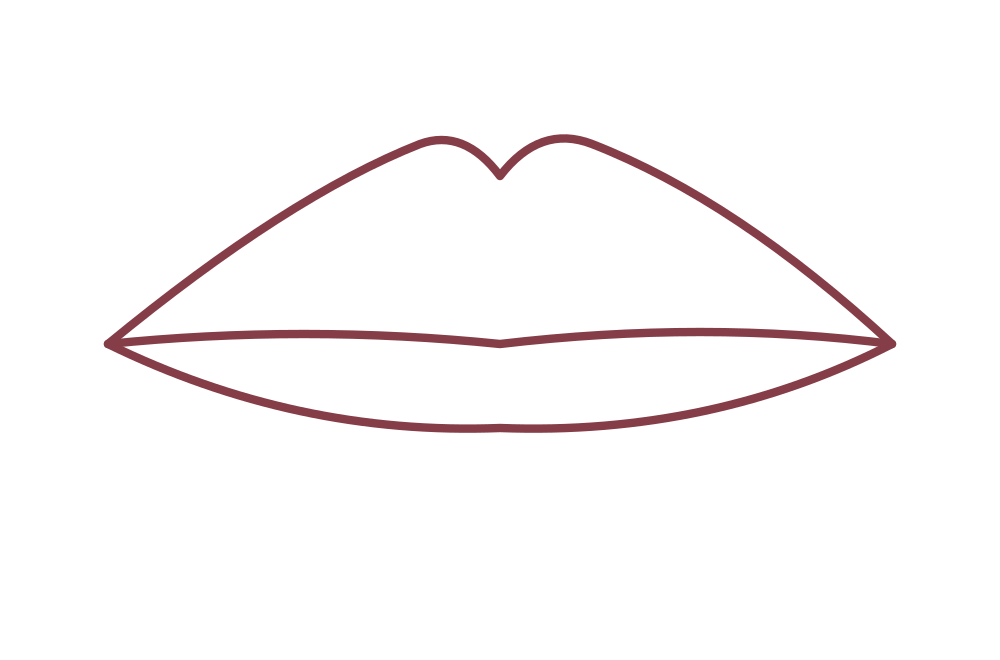
The upper lip has more visible height.
Try a little extra shine at the center of the lower lip. Following your natural proportions is always an option.
Natural lip pigmentation, texture, desired coverage, and the time you want to spend applying color often matter more than a shape label.
Choose a sheer finish to let your natural color show through. Choose a more opaque formula when coverage is the goal. Then decide how precise or diffused you want the edge to look.
Explore the technique journal